
")
Find Your MAC Address in Windows PC
It is important to identify your existing MAC address first. This is helpful, just in case you make an unwanted error, and end up having to restore your MAC address to its default value.
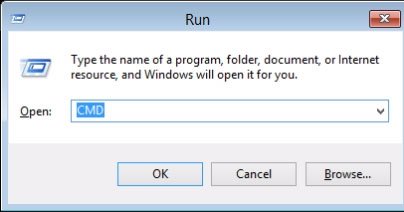
Step 1: At first, you need to launch the ‘Command Prompt‘. You can open Cmd prompt by pressing ‘Windows + R‘ > typing ‘Cmd‘ > clicking OK or by simply typing ‘Cmd’ in the search box.
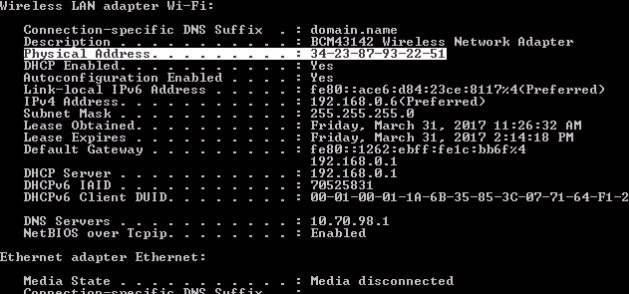
Step 2: Now in the command prompt, you have to type ‘ipconfig /all’.
Then, you’ll see a web of senseless information regarding a variety of network interfaces installed on your Windows PC. Simply scroll down to ‘Wireless LAN Adapter WiFi‘. Here you have to look for the value that is next to ‘Physical Address‘. This is your MAC address. Copy it down somewhere to avoid any mishap.
How to change MAC Address on Windows PCs
It is pretty easy to change MAC address in your Windows PC. You have to simply follow the steps given below in order to change it:
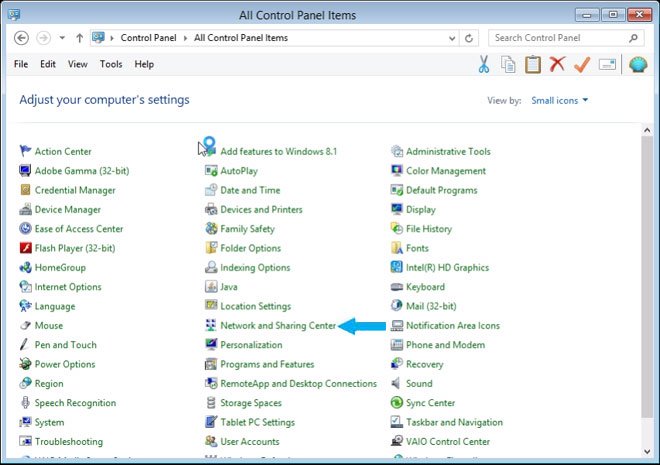
Step 1: Head to ‘Control Panel‘ > Network and Sharing Center.
Step 2: Now go to ‘Adapter Settings‘.

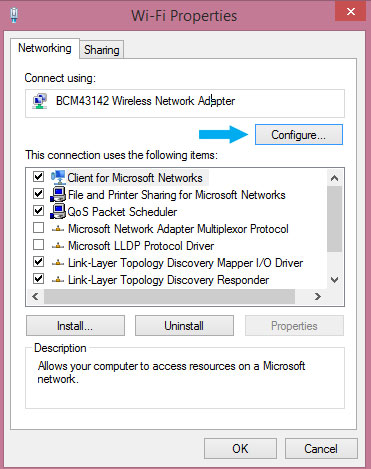
Step 3: Here, right-click on the adapter you need to change the MAC address for, and head to ‘Properties‘ > click on ‘Configure‘.
Step 4: Now switch to the ‘Advanced‘ tab and click on the ‘Locally Administered MAC Address‘ or the Network Address property.
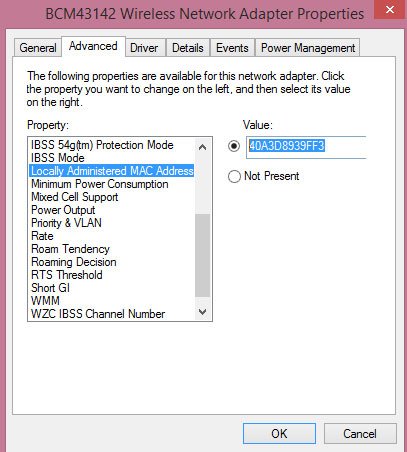
Here, by default, the Not Present value is selected. Simply click on the ‘Value‘ radio button and enter a new MAC address. Note: The MAC address is a combination of 6 pairs of numbers and characters, For instance; 40-A3-D8-93-9F-F3. You should enter the MAC address without the dashes.
It’s done! To verify your new MAC address, you can go the Command prompt and type in the aforementioned command ‘ipconfig/all’ to check that the MAC address has changed properly. At last, restart your system in order for the changes to take effect.


